TruEmbroidery™ Software Newsletter July 2014
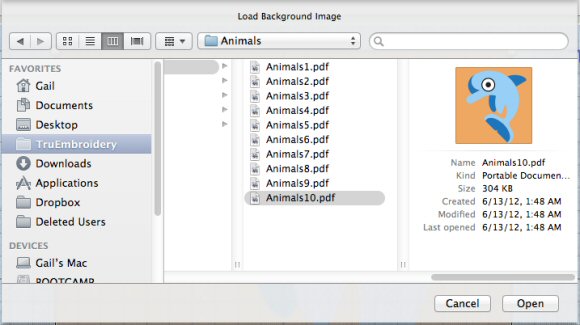
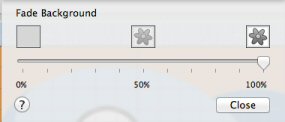
Welcome to the TruEmbroidery™ newsletter. This month we will look at resizing versus scaling and what each option means for your design. We will also share how you can work with backgrounds in TruE™ Studio to view fabrics behind your design and use backgrounds in TruE™ Create to help create an embroidery design.
 Icons
Icons
Not sure what the difference is between resize and scale?
The Resize mode icon ![]() can be found on the toolbar in TruE™ Studio
can be found on the toolbar in TruE™ Studio ![]() and TruE™ Modify
and TruE™ Modify ![]() .
To switch between Resize and Scale modes, simply click the icon or choose the Edit Menu,
then Resize Mode or press Command + R.
.
To switch between Resize and Scale modes, simply click the icon or choose the Edit Menu,
then Resize Mode or press Command + R.
The handles on the embroidery selection show when Resize or Scale is selected. Blue handles show resize mode, while white handles show scale mode.
Change the size of the selected embroidery using free resize or with the mouse. Alternatively, use Modify Design ![]() to set the exact size.
to set the exact size.
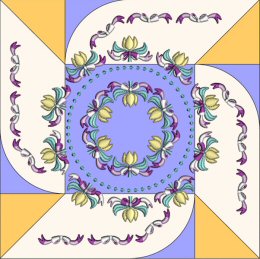
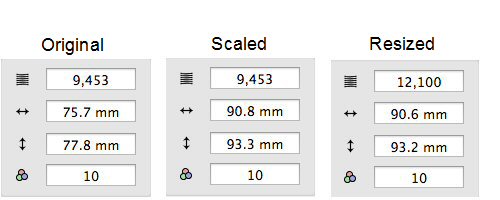
Resize changes the size of the embroidery while retaining constant density. Scale changes the size of the embroidery while retaining constant stitch count. The design on the left is from the Flower folder in Samples. The center design has been scaled 20%. The design on the right has been resized 20%.

Notice that the stitch count stays the same, but the design is larger in the scaled version, while the resized version has more stitches to maintain the density. You might want to use scale when stitching out on a different weight fabric, for example to produce less dense stitching when making a design larger or denser stitching when making it smaller.
 Tips and Techniques