TruEmbroidery™ 3 Software Newsletter May 2016
Welcome to the TruEmbroidery™ newsletter. This month we will take a look at the Delete Command tool and see how to create a Satin Area design.
 Icons
Icons
The Delete Command Tool ![]() can be found on the Modify Window of the Control Panel in the TruE™ 3 or TruE™ Modify Application.
It is also available in TruE™ 3 Studio. Use Delete Commands to delete an unwanted Color Change
can be found on the Modify Window of the Control Panel in the TruE™ 3 or TruE™ Modify Application.
It is also available in TruE™ 3 Studio. Use Delete Commands to delete an unwanted Color Change ![]() ,
Stop
,
Stop ![]() or Trim
or Trim ![]() command.
command.
In the Modify window of the Control Panel ![]() , click Delete Commands
, click Delete Commands ![]() .
All commands become visible. Click on the command you would like to delete. To cancel the function, Control-click (or right -click) and Choose Finish Delete Command.
.
All commands become visible. Click on the command you would like to delete. To cancel the function, Control-click (or right -click) and Choose Finish Delete Command.

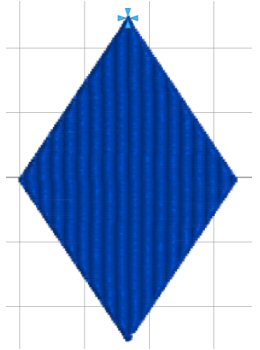
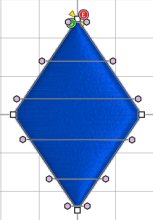
In the first design pictured, from the Fashion folder within the BonusDesigns folder available in the TruE™ 3 ELITE package, you can see all the Trim commands and Color Changes. If you Delete the Color Change, you will now have a monochrome design, as shown at the beginning of the section.
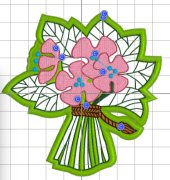
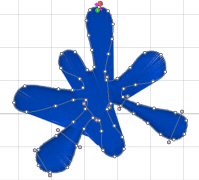
In the appliqué design, from the Flowers subfolder of the Samples/Studio/Stitch2 folder, if you delete the color command for the third color, it would stitch out as an appliqué design without the running stitch to show you where to place the fabric. This is an optional alternative method for stitching an appliqué design.
 Tips and Techniques