TruEmbroidery™ 3 Software Newsletter November 2016
Welcome to the TruEmbroidery™ newsletter.
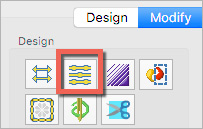
This month we will look at the Break Up Stitches icon ![]() in TruE™ 3 Modify, and how to work with Flip,
Skew and Reverse Order of Stitches
in TruE™ 3 Modify, and how to work with Flip,
Skew and Reverse Order of Stitches ![]() to make an unusual repeat design from a stock embroidery.
to make an unusual repeat design from a stock embroidery.
 Icons
Icons
Today, we'll look at the Break Up Stitches icon ![]() .
This icon is found in the Control Panel
.
This icon is found in the Control Panel ![]() > Modify page in TruE™ 3 Modify from the TruE™ 3 Elite package.
Some embroidery projects have long stitches that can easily snag when heavily used.
> Modify page in TruE™ 3 Modify from the TruE™ 3 Elite package.
Some embroidery projects have long stitches that can easily snag when heavily used.
Many embroidery designs have long, floating stitches, such as the satin petals shown in the daisy design on the left. Long stitches can snag easily when stitched on projects that will receive lots of use.

 A simple way to break the stitches into uniform lengths, shown in the larger daisy in the adjusted design on the right,
is to select Break Up Stitches
 ![]() . Type the desired stitch length in the Length settings box.
. Type the desired stitch length in the Length settings box.
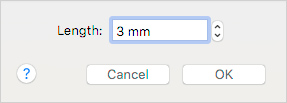
When you click OK, all visible stitches will be broken into the new stitch length setting.
In TruE™ 3 Modify software, you can use the Draw Strip tools, like Draw Next Color Block ![]() and
the Control Strip slider to quickly hide stitches you don't want to change, or isolate areas of stitches to modify in different ways.
and
the Control Strip slider to quickly hide stitches you don't want to change, or isolate areas of stitches to modify in different ways.
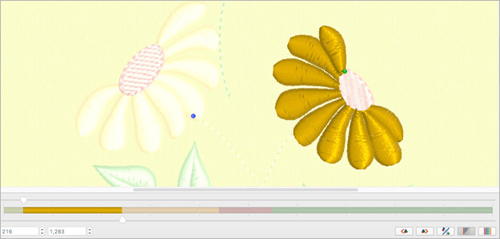
This example uses the following design from TruEmbroidery™ 3: Home/Premier+/Samples/BonusDesigns/Flowers and Leaves/Yellow Daisies.vp3.

 Tips and Techniques
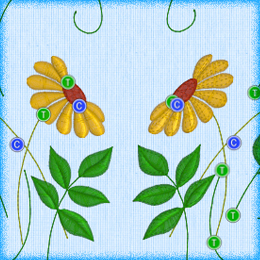
 When you open an embroidery in TruE™ 3 Modify, you have many choices for making subtle changes that soften and enhance your designs.
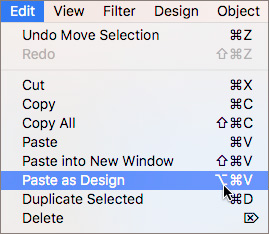
In TruE™ 3 Modify's Edit menu, Paste as Design makes a copy as a separate layer. Using separated design layers lets you easily position and adjust
individual designs while keeping the elements detached for quick and easy selection!
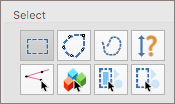 The new design will be placed right over the original. In the Control Panel
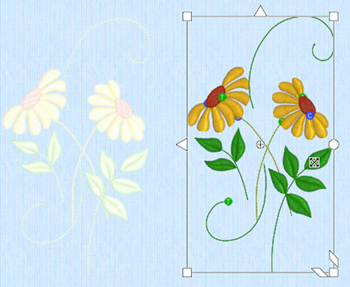
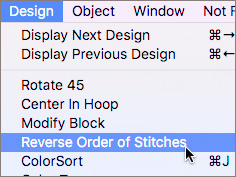 Since this design was mirrored with the Flip handle, long jump stitches tend to form between stitch areas after ColorSort on Exporting.
To reduce the size of the jumps, use Reverse Order of Stitches
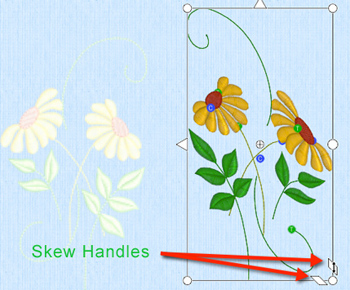
  Click the first design in the Control Panel >Design page, Design Select window to make it the active design,
so you can skew that element, too. The Merge with Above command
 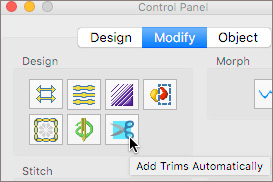 The Modify tab on the Control Panel has Add Trims Automatically