TruEmbroidery™ 3 Software Newsletter October 2016
Welcome to the TruEmbroidery™ 3 newsletter. This month we will look at the Control Panel icon ![]() in TruE™ 3 Create, and tools for making lace in TruE™ 3 Create.
in TruE™ 3 Create, and tools for making lace in TruE™ 3 Create.
 Icons
Icons
The Control Panel icon ![]() in TruE™ 3 Create opens a floating Control Panel with many tools for designing Fill,
Satin or Line stitches, or for editing existing stitch objects. Think of the Control Panel as the window to designing in TruE™ 3 Create software!
in TruE™ 3 Create opens a floating Control Panel with many tools for designing Fill,
Satin or Line stitches, or for editing existing stitch objects. Think of the Control Panel as the window to designing in TruE™ 3 Create software!
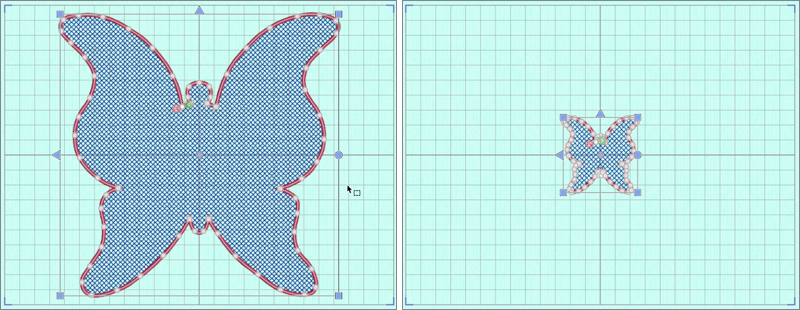
The Control Panel has two tabs, Create and Edit. The Create tab has tools for designing stitches. The Edit tab has tools for selecting or filtering stitch objects and for changing thread brand and color.
The floating Control Panel can be moved by dragging the title bar, so you can view different parts of the screen.
You can minimize  or
close
or
close  the Control Panel if it's obstructing your view. To open again, simply click the
Control Panel icon
the Control Panel if it's obstructing your view. To open again, simply click the
Control Panel icon ![]() in the Panels tool at the end of the top toolbar.
in the Panels tool at the end of the top toolbar.
 Tips and Techniques
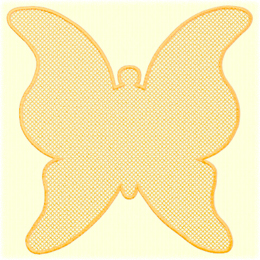
 to select the Styles for a lace base.
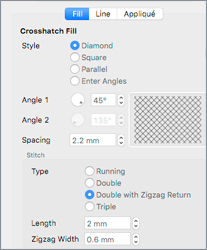 * Spacing adjusts how closely lines of stitches are placed and adjusts the size of the crosshatch mesh.
* Double with Zigzag Return in Type is a special stitch for making free standing lace.
Each line of the crosshatch fill stitches out in a straight line of stitches, and returns with a narrow openwork zigzag that strengthens and builds up the mesh for a stronger, supportive lace base.
* Spacing adjusts how closely lines of stitches are placed and adjusts the size of the crosshatch mesh.
* Double with Zigzag Return in Type is a special stitch for making free standing lace.
Each line of the crosshatch fill stitches out in a straight line of stitches, and returns with a narrow openwork zigzag that strengthens and builds up the mesh for a stronger, supportive lace base.
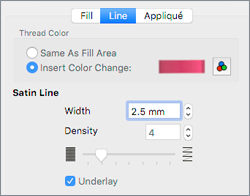 Select from one of the many Fill Area Border options to finish the edge of the lace panel. If you are making free standing lace, try a narrow Satin Line.
The Line properties tab will become active in Fill Area Options
Select from one of the many Fill Area Border options to finish the edge of the lace panel. If you are making free standing lace, try a narrow Satin Line.
The Line properties tab will become active in Fill Area Options 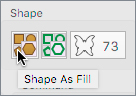 For a fast lace shape, select a shape in Shape As Fill, and click the icon