TruEmbroidery™ 3 Software Newsletter July 2017
Welcome to the TruEmbroidery™ 3 newsletter. This month we will look at the Control Strip and working with Layers in the TruE™ 3
Modify ![]() application,
available in the TruEmbroidery™ ELITE package.
application,
available in the TruEmbroidery™ ELITE package.
PREMIER+™ 2 Announcement
We are proud to announce the upcoming release of the PREMIER+™ 2 Embroidery System software for Mac®.
This will be exciting for you as a TruE™ Embroidery System user as it has been updated with many new features that you've been asking for such as:
Cross Stitch Assistant, Word Sculpt and much more!
View a video of some of the new features.
The PREMIER+™ 2 Embroidery System software will be released in October 2017. Look out for the Embroidery Software Newsletters over the next few months, as we give you more information about the features of the PREMIER+™ 2 Embroidery System software and how to secure your copy.
 Icons
Icons
The Control Strip in TruE™ 3 Modify has several icons that help you view or hide selected areas of complex embroidery designs within the active design in the work area. If several embroideries are loaded as separate layers, only the active embroidery design will be available to filter using the Control Strip.
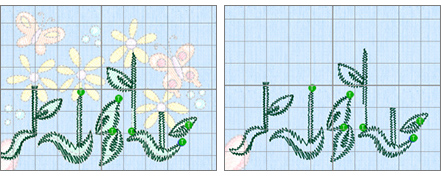
- To view areas by their color block or thread color changes, use Draw Previous Color Block
 and
Draw Next Color Block
  .
You can scroll forward or backward through all the colors using these two buttons, one color at a time.
 - To invert your selection from the visible threads to all hidden threads, use Invert Color Visibility
 .
Click once to invert to all hidden threads, then click again to toggle back to the originally selected thread color(s).
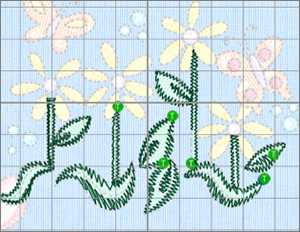
 - To make hidden stitches visible in a faded view (but still inaccessible for editing) click on Ghost Mode
 .
Ghost Mode is useful for referencing hidden stitches when moving or reshaping stitch areas.
 - To redraw all stitches and make them accessible for editing, click Display All
 .
Display All is useful when you want to view your changes when editing or combining multiple designs.
Designs insert into the work area from File View in the Design Viewer  in discrete layers,
and only the currently selected Layer can be filtered with the Control Strip.
- Icons in the Design Select View include Move Up
 (moves the selected design to stitch earlier in the exported embroidery), Move Down
  (moves the selected design to stitch later in the exported embroidery), and Merge with design
above
  (merges selected design with the design above it in the list).
Tip: Merge does not remove overlapping areas of designs in the TruE™ 3 Modify application, as all stitches in the two merging designs are retained. However, if designs are kept in layers throughout the editing process, you can opt to remove overlapping stitches when you export the embroidery.
Use Life View  to review how the designs will appear upon Export, using the current settings in
TruE™ 3 Configure
  .
.
The design pictured in the illustration is Flower Garden from TruEmbroidery3 > Samples > Studio > Stitch2 > Butterflies and Bugs.
TruEmbroidery 3 > Samples can be found in your Home  folder in Finder.

 Tips and Techniques
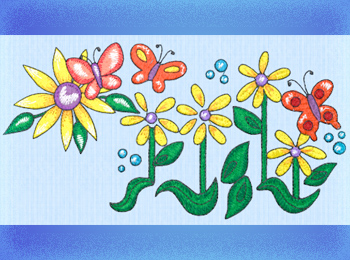
 about 30% larger than the sample file from TruEmbroidery™ 3.
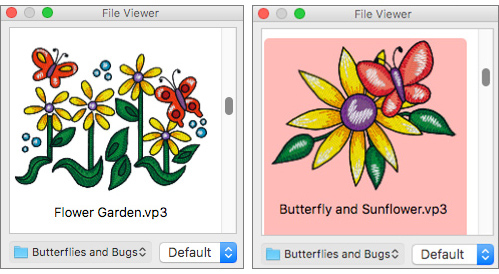 Move or close
  the File Viewer so you can see the work area.
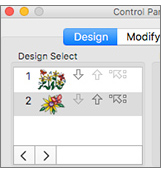 Click Control Panel
  in the Panels toolbar. The Design page is visible by default, and the currently selected design will be highlighted in the Design Select box.
To select a different design for editing, simply click the desired design preview in the Design Select box.
Let's select the first design, Flower Garden, and review how the Control Strip tools let us isolate areas in the design.
 +A shortcut.
 The functions of the Control Strip are illustrated below, as shown in the Help system built into TruE™ 3
Modify
  The Draw sliders above and below the thread color preview show or hide stitches as you drag them.
Use these to help isolate individual sections of stitches to isolate for adding thread color changes,
stops, or adding or removing stitches, and other editing for areas within a single thread color.
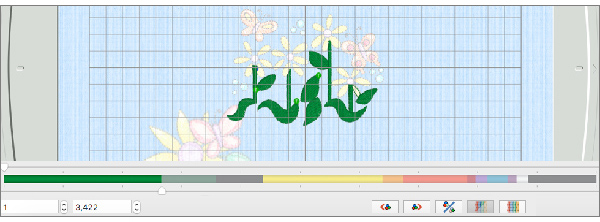 The thread color preview bar shows all the thread colors in bands. Thread colors are full color when visible or selected. If a thread color is hidden from view, its color is dimmed or faded.
When a thread is visible, or selected, the Draw from beginning and Draw from end sliders move to bracket the selected or visible color, as shown in the illustration above, and the Start and End Stitches number boxes change to reflect only the visible stitches.
