Tips and Techniques
This month we will look at adjusting embroideries using alignment markers
to help us create an easily hooped Endless series of designs. TruE™ 3
Studio has a special Endless Assistant that steps you through
adding marker stitches and spacing for Endless Embroidery.
You can also re-hoop an embroidery multiple times to create a border or repeat an embroidered pattern across your project.
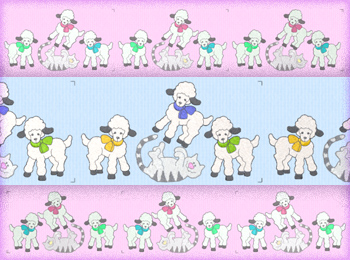
The embroideries used for illustration are from TruEmbroidery3> Samples> Studio> Stitch2> Animals in your Home folder.
Designs are Cat on its Back.vp3 and Lamb.vp3.
Whether you plan to stitch with a specially adapted hoop designed for quickly releasing and moving fabric,
or one of the standard hoops that came with your embroidery machine, you can use the Endless Assistant to
set up spacing between design repeats, and then add marker stitches. See how simply you can
attain perfect alignment of multiple hoopings of your embroidery across the project!
Here are some ideas for Endless design, so you can see how the process works!
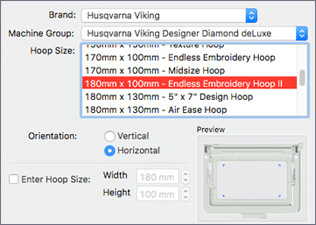
1. Select your preferred Hoop  from your Brand and Machine Group.
- If available, select your machine’s special endless hoop.
- Alternatively, select the hoop in which you plan to stitch your embroideries, or use Custom Hoop to make a hoop size that isn't in the list.
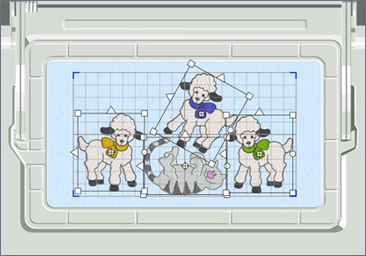
2. Use Design Viewer  to load and arrange the designs you want to use for Endless Embroidery.
3. From the Assistants Menu in the top menu bar, select Endless Assistant to open the Endless Embroidery dialog box.
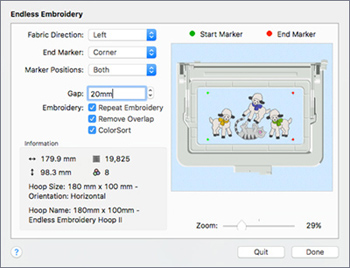
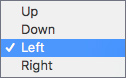 4. Fabric Direction is set by how you plan to move the fabric through the hoop for subsequent hoopings.
- Options include Up or Down for a vertical hoop, and Left or Right for a horizontal hoop.
Tip: Fabric Direction options determine the placement of End Markers
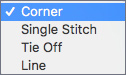 5. End Markers stitch to show you where to locate the needle over the exact point for the start of the subsequent embroidery.
- Marker Options are Corner (stitches in L shape to form a corner shape), Single Stitch, Tie Off, and Line.
Tip: Try Corner if you want to exactly locate the needle when aligning for the next design.
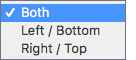 6. Marker Positions determine how many markers are used, and their location.
Tip: Use Both for maximum alignment points.
6. Marker Positions determine how many markers are used, and their location.
Tip: Use Both for maximum alignment points.
7. Gap sets the distance between Endless repeats of the embroideries.
- Gap can be increased or decreased (use negative numbers to overlap designs).
- Alignment markers are placed in the middle of the Gap area, so a Gap of 4 would add 2mm
to the Top/Bottom or Right/Left side of the first design and then add a Marker.
The same amount is added at the opposite side of the design, so total Gap will be 4mm.
Tip: Try a Gap setting of 5mm and see how the Marker stitches move! Then try a different
Gap setting to see how they change again. Gap is limited by the available space at the
Start and End sides of the hoop, so selecting a greater gap than can be applied will give an error message.
8. Other settings are Repeat Embroidery, useful when you have a single element you want to repeat as many times
as possible before rehooping; Remove Overlap, useful when you have used a negative gap to
create an overlapping 'continuous' border of small elements within the hoop; and ColorSort.
9. The Information box shows the selected settings and the size of the Endless Design with the current settings applied.
10. The Preview window gives a visual of how the finished Endless Design will appear,
and the Zoom slider helps see the overlap and repeat areas in closer view.
11. Use Life View  from the Preview tools in the top toolbar to see the Corner Markers
(shown by purple arrows in the illustration) at the End side of the design, as you had selected in the settings.
from the Preview tools in the top toolbar to see the Corner Markers
(shown by purple arrows in the illustration) at the End side of the design, as you had selected in the settings.

Be sure to select the Actions menu  and then select Export Embroidery to prepare your Endless Embroidery design for your embroidery machine!
If you have been planning to use that new Endless Embroidery hoop you purchased,
or are thinking of making new curtains with a theme, or a shower curtain with fish swimming along the border, brush up on your Endless Embroidery Assistant today!

 Icons
Icons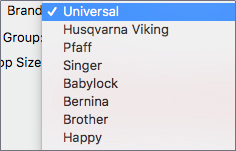 The Brand pop-up menu holds many preset sewing and machine embroidery brands. Once a brand is selected, all available hoop options for that brand will be available.
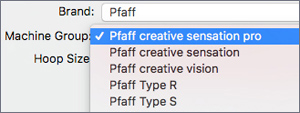 The Machine Group pop-up menu helps you select a specific machine within the brand.
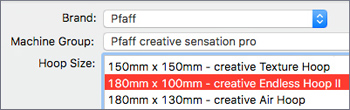 The Hoop Size scrolling menu offers most available hoops for the selected machine.
Many machine brands have hoops created especially for easy rehooping of designs along the edge of fabrics, commonly called Endless Hooping.
The Hoop Size scrolling menu offers most available hoops for the selected machine.
Many machine brands have hoops created especially for easy rehooping of designs along the edge of fabrics, commonly called Endless Hooping.
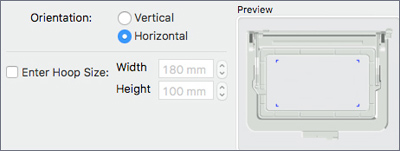 Orientation lets you work with the hoop in a Vertical position (how hoops clip to an embroidery arm on most machines) or Horizontal (rotated 90 degrees counterclockwise on most machines).